While current technology means that we are taking more portrait photos than ever, creating beautiful ones that are well lit will allow you to take ones that are worth keeping and sharing. Whether you’re photographing portraits for your own personal use, or for online business use, here are several tips to help you master lighting portrait photos.
Start with your story
What is the photo about? What is your subject doing? Where are they in your story? Knowing these key factors will help you determine what sort of light you want to use. Are you trying to create intense shadows that invoke drama? Are you creating flat even lighting to highlight the subjects facial features? Knowing the reason for the photo will help you determine the best lighting.
Watch for the shadows
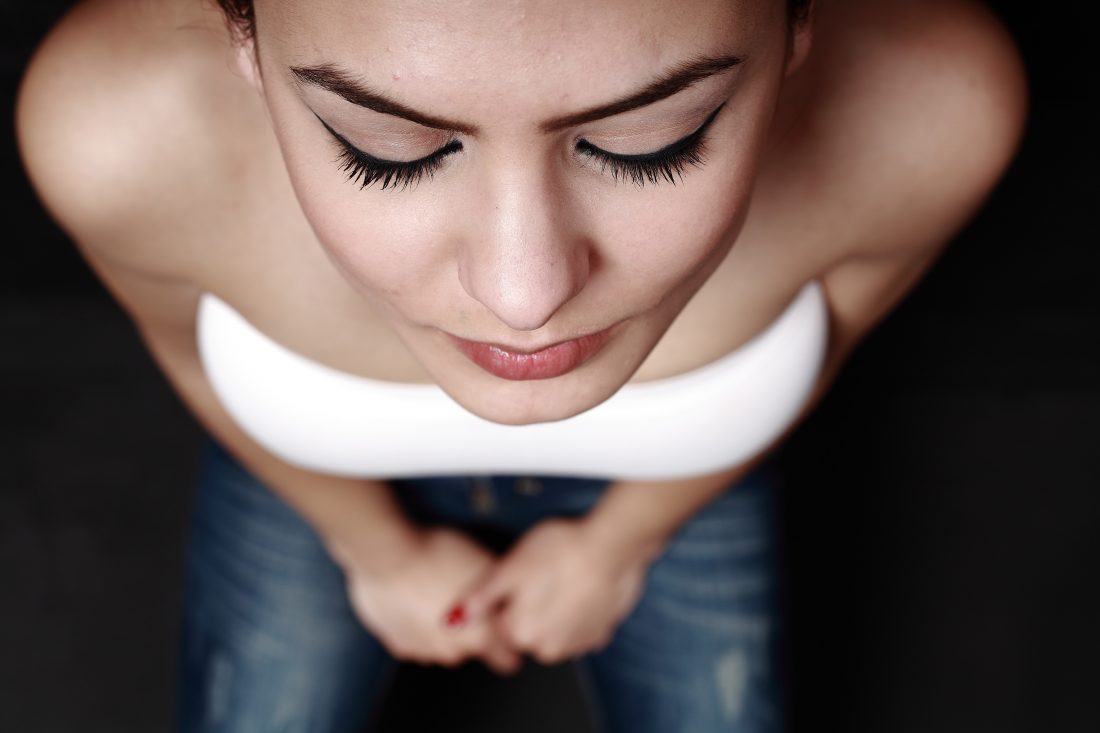
The best way to light a portrait photo is to be able to see the shadows. Look at your subjects face. Are there shadows on half the face, or all of it? Is their under eye area evenly lit, or is there harsh shadows to contend with? Before you try to add or sculpt lighting for a portrait photo, you need to be able to see what is currently there.
Use ambient lighting
Lighting portrait photos should always begin with accessing your ambient lighting. Where is the sun? Directly overhead, or is it coming from one direction? If it’s directly overhead, you’ll have to contend with harsh shadows under your subjects eyes and chin. This generally does not make for a flattering portrait. For even and flat lighting, which is often the best for a portrait, you’ll want to find a location with covered shade. Consider placing your subject underneath a tall tree, in the shadow of a tall building, or tucked just inside a doorway.
Look for natural reflectors
When outdoors and using the sun as your main light source, you’ll want to look for ways to bounce the light onto your subject in a diffused way. Natural reflectors can be anything from snow on the ground, to a tall marble building, to a light cement sidewalk. It can even be an all white shirt that you the photographer are wearing. Be aware of where your ambient light is coming from, and where it could bounce off of.
Use your modifiers
Once you’ve mastered using natural light for your portraits, you should begin to experiment with artificial lights. Adding in a speed light to fill shadows, or even create shadows for more dramatic affects, can give you more control of your portrait in any situation. Setting your flash to manual mode, you can adjust the strength of the light, otherwise known as the power. Experiment with moving it closer to your subject, as well as further away. You can add more lights, all set at different power and distances from your subject, controlled by triggers on your camera. Adding in additional lights will let you control the entire scene and create the look that you’re envisioning in your mind.
Take it indoors
Using a basic two light set up, you can create a professional studio anywhere you’ve got a solid backdrop inside. To begin, set one strobe light to camera left, pointed at a 45 degree angle towards your subject, and your second light to camera right, in a similar position. This creates a very flat and uninteresting light pattern, that is a great starting point. From here, you can raise one light and angle it downwards; move one light off to the side of the subject more; or add a reflector to bounce light under the subjects chin. The key here is to experiment and watch where the shadows are falling on your subjects face.
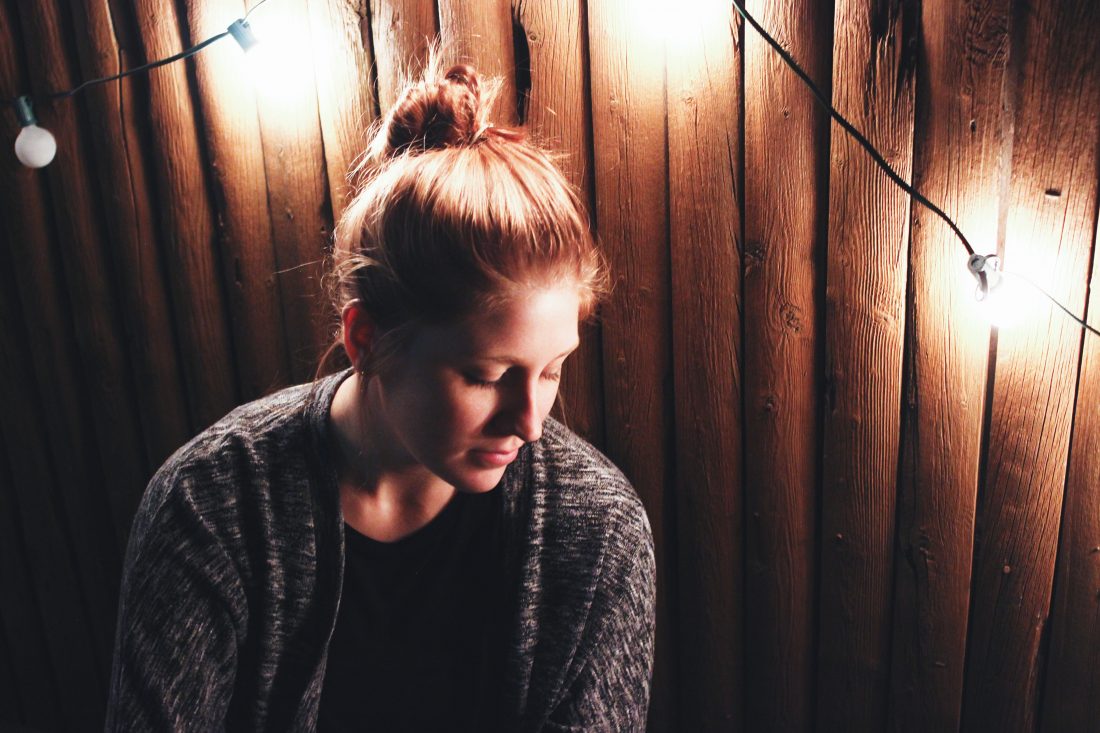
Natural light from windows
If you’re indoors without strobes or speed lights for your camera, your best option is to find the window. Position your subject either facing the window directly, with you in between the window and subject), or close to the window, with the light falling on your subjects face from the side. When you have a large soft light source such as this, skin blemishes are hidden, wrinkles are softened, and the eyes will have a pleasing catch light reflected in them.
Adjust your aperture
Portraits are generally taken as a close up, including the top third of your subjects body, and generally at a wide open aperture, such as f/1.8 or f/2.4. However, by changing your aperture to include more of the background, you can help tell the story of your portrait. You’re also able to cut down on harsh sunlight if shooting outdoors, and thus properly expose for your portrait.
Know your broad and short lighting
A broad lighting set up is one where the side of the face turned towards the camera is the one that is primarily being lit, while the side of the face turned away from the camera is in shadow. Short lighting is just the opposite, with the side of the face turned toward camera is the one that is in shadow. Short lighting can have a slandering effect on a subject’s face, while broad lighting can have the opposite effect.
Ask a friend to assist
We’ve all been in the situation where there just isn’t enough light falling on the subject’s face to create the beautiful portrait photo we’re envisioning. Without the ability to grow more hands, it’s wise to invite a friend along to assist you. Having them hold a hand held reflector is the quickest and easiest way to control the light around you. Have it held underneath the subject’s face to bounce light back into under eye shadows; held to the side it can fill light onto the side of the face that is turned away from the light source. A trick that many forget about is to have your assistant hold the reflector over the subject’s head to diffuse the sun light and create that covered shade all photographers covet.
Lighting for portrait photos is like anything else in photography; you have to practice and experiment to determine what works best for your needs. By using these tips, you should be able to quickly master the basics, and create beautiful, well lit, portrait photos. If you’re needing some examples to get your wheels turning, be sure to check out ISO Republics growing collection of free portrait photos.