I’ve had some friends recently re-discover the art of shooting film, mostly as a result of a challenge spread through social media using cameras some might call old-school, simplistic, and more directly “crappy” (or another adjective less polite).
While most of us walk around with cameras in our pockets (hello do-it-all smartphones), the idea of picking up an “old-school” camera might not be at the top of things to not leave the house without, but can be a great exercise. While there’s no doubt in my mind that consistent practice, framing and capturing lots of images is a great way to perfect your craft, sometimes limiting yourself in some ways can sharpen your skills and provide equal creativity. Using a camera with fewer bells and whistles is a great way to do so.
In the digital age, we capture more pictures than ever before—frame after frame, sometimes without much thought. I tend to overshoot on most jobs. After all, the supply of pixels is nearly endless as long as the battery holds out and you have enough space. And, most modern cameras can even get by on automatic settings, which makes capturing images faster and easier without much thought. But where is the fun in that?
The Creative Advantages of Limits
Let’s face it, film cameras are limited by today’s standard: lack of instant preview, no way to adjust ISO in the middle of a roll of film, and there’s no way of knowing what you captured until the film is processed. Let’s not forget that a roll of 35mm film was typically somewhere between 12 and 36 exposures (gasp!). A disposable film camera (in my opinion the ultimate “crappy” camera) which you can still get today tops out at 27 shots. My mother captured many holiday memories with disposable cameras. And admittedly, there was always a certain amount of excitement and hope that there was at least one special shot captured for the family photo album.
That got me thinking…what is it about shooting film today, and how can you have some fun even if you don’t have a film camera?
Quality vs. Quantity
So, what happens when you’ve only got 12 to 36 shots? You have to take your time, think about your framing and exposure for desired results and be conscious of how many shots you’ve captured before you “run out”. The number of shots is up to you, but try to limit yourself to 36 or less (put the smallest SD or compact flash card in your camera if you need to).
Get Off Autopilot
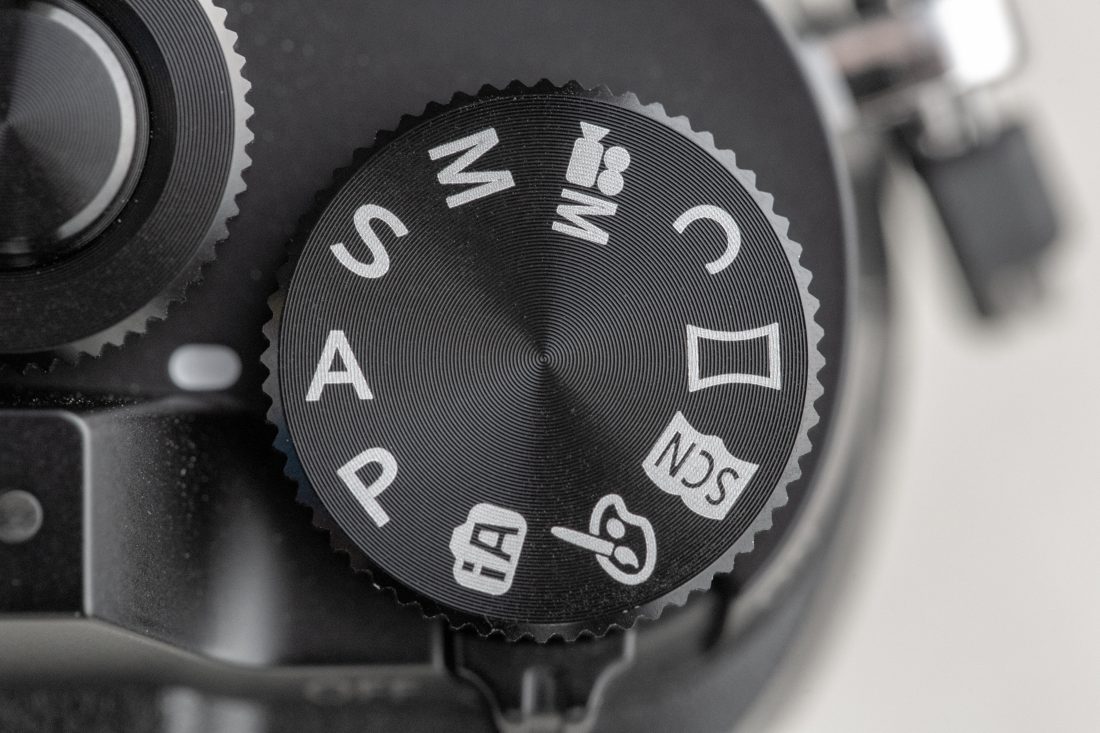
Forget about those preset camera functions and get back to your basics – manually set the aperture and shutter speed, which lets you fully take over the exposure controls. Shoot JPEG (plus RAW for a later date, we’re not giving up on post production after this exercise.) And choose the right type of film for your camera.
ISO: Set it and Forget it
Sure we can adjust this on the fly with digital, but for this exercise, let’s determine the ISO and keep it for the duration of frames. No tweaking!
For film cameras, the type of film determined the ISO – not the camera. Most consumer film speeds were 100-800 ISO. Many pro stocks went even higher (up to 6400) but my recommendation is to try 100, 400 or 800. And remember to adjust your aperture and shutter speeds accordingly when you’re shooting.
Choose Your Lens
If you have one available, consider a fast prime lens. Some of my favorite pictures have been shot with 1.4, 1.8 50mm and 85mm lenses. Prime lenses force you to move around more. I always feel a little more connected to what I’m shooting when I’m using prime vs. zoom lenses.
Get Out and Shoot (No Peeking!)
Turn off screen previews. This is a must; no cheating. Put gaffers tape over the LCD if you must. You’re aiming to shoot with attention to composition and exposure, so take your time and learn to trust yourself. And remember, each shot is limited to your virtual “roll” of film. When you’ve hit the end of your virtual roll. Stop.
Get out there and shoot. Landscapes, close-ups, creative shots, family events, etc. Play with your scene, harsh light, low light, mix it up and use the meter (and your head!).
Consider taking notes: jot down frame number, time of day, quality or direction of light, shutter speed, etc. If you have the patience, try this frame by frame during this challenge and compare notes when you get your prints back (yes, I said it: we’re developing…er, having prints made).
Hurry Up and Wait
After shooting, typically we’d run home, load the SD or compact flash card onto the computer and develop with our software of choice. It’s hard to argue how efficient this is, but for the sake of this exercise, take your card (aka film roll) off to your nearest drugstore photo printer and have prints made from the JPEGs. A full frame or cropped sensor DSLR will make 4 x 6 prints without any significant cropping.
It sounds crazy now, but for many of us, this was the experience of shooting film – waiting. A family event meant shooting a roll or two, dropping it off at a local photo center and well, waiting…. A commercial shoot meant sending it out for processing overnight for next day review, and trusting (with a little dash of hope) that your efforts got you that one amazing shot for your client, hopefully more.
Compare Notes and Try Again
If you can get some of your fellow photographer friends onboard, I’d encourage you to try this challenge as a group. Get together after your photos are printed and examine what your pictures look like straight from the camera to your print. Talk about what you got right, compare notes and try again.
Sure, you’ll need to be in the same room together – but that’s part of the process, we’re going as analogue as we can. Add in beer and pizza and you’ve got the beginnings of a great photo review meet up.
Get creative, shoot with some limitations every once in a while. Your work will get better and you might even find yourself shooting a “real” roll of film someday.
Check out these great examples of images.


