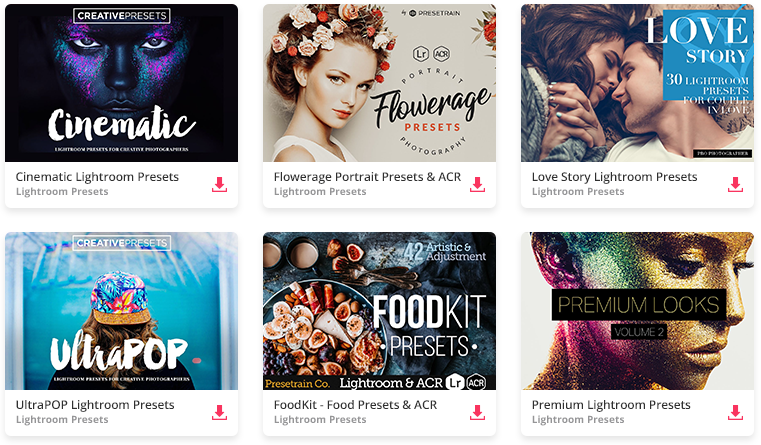
Editing your photos is an important part of the process to ensure the highest quality images possible. With the right edit you can completely change the mood of a photo. From bringing out more details in the shadows to adjusting colors in a way that tells a story, you can do a lot with your edits!
Using Lightroom Presets you can create even more advanced edits. Presets are saved effects you can download and install into your own program to apply like photo filters.
Need some images to practice on? View the newest free photos on ISO →
Getting Started with Presets
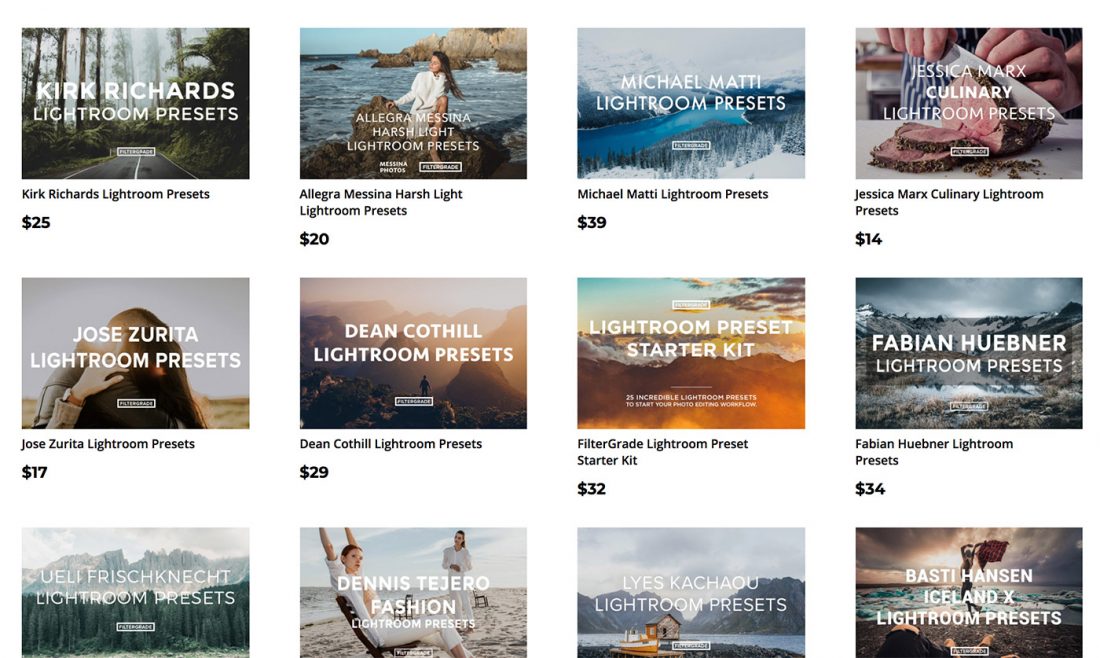
Starting out, your best bet is to try some free presets to see how everything works. Below is a new tutorial for 2019 showing the process for installing Lightroom Presets. Now, Adobe uses .xmp as the main filetype for presets, with .lrtemplate being the older filetype used with presets.
You can still import .lrtemplate files and Adobe automatically converts these to .xmp once you restart the program.
Once you install your presets, simply click the effects to apply them to your photos! Then you can have fun customizing the edit through the various sliders and settings in the Develop Module.
Customizing Your Presets
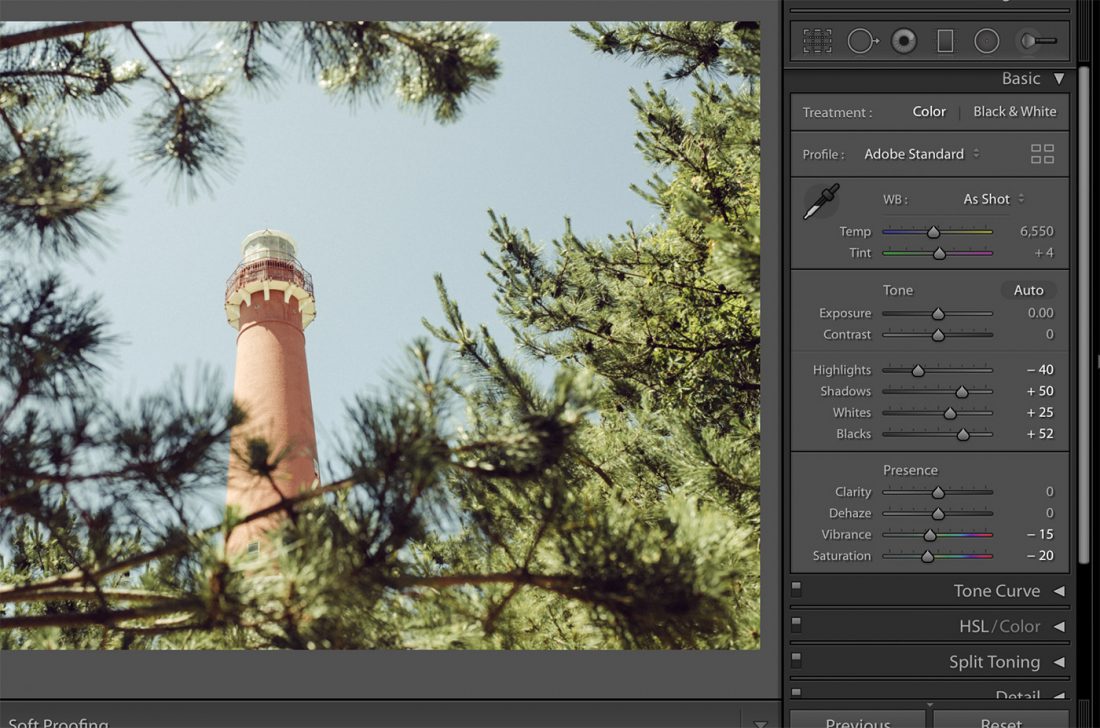
One of the best features about presets is the flexibility you get with editing. Once you apply a preset, you can adjust any setting to really create the look and feel that you desire.
You can also apply these changes to the existing preset, or save a brand new custom preset that suits your needs. Over time, this just saves you more and more effort. Slowly, but surely you can refine your editing process and have a much quicker starting point.
Some examples of different ways people use presets:
- Editing a batch of photos for a specific blog post or advertising campaign
- Editing a wedding with a uniform style and look for the clients
- Adding creative looks and effects to your designs, like the duotone effect
- Quickly editing photos for a social media team or deadline during special events
- Starting your editing out with some base presets for lighting, shadows, color tone adjustments, sharpening, turning on/off camera calibration, and much more
Can you use Presets with Lightroom Mobile?
Potentially the #1 most asked question about presets is whether or not you can use them on your phone. The answer is YES, and there are 2 specific ways you can use presets with the Lightroom Mobile App.
- Direct Import
- Syncing Presets
Direct Import
For method 1, you need to actually get specific presets that are made for mobile. These are .dng raw photos and have the presets applied to the RAW photo. You then import these into Lightroom Mobile and then can copy the effects from the photos to save as presets in your app.
Check out examples of mobile presets →
Syncing Presets
For method 2, you can use presets that are already installed in your Lightroom desktop app. Then you just sync them using Lightroom CC and you’ll be able to apply these same effects to your photos in the mobile app!
Check out the tutorial for syncing presets with mobile →
Completing the Edit
How do you complete an edit? That’s a tough question that a lot of photographers struggle with. It can be hard to really ‘finish’ your work. Sometimes taking a second look at your photo makes you want to jump back into Lightroom, scrap it, and start anew.
Finishing the edit is a challenge, because as photographers we want to share the best of the best with the world. Editing is a tool you can use for visual communication, similar to how people view color grading in cinematography. The edit is very much a part of the storytelling process.
So how do you make sure the edit fits your theme and vision?
Here are some questions to ask yourself that can help you complete the edit:
- What type of message am I trying to send?
- Does this edit fit the environment of the photos? Should it?
- What does this edit make the viewer feel?
- Does this edit spark joy? (shout out to all the Marie Kondo fans)
- What can I take away to make this edit better?
Obviously not every photo or project will require this level of introspection and depth, but it can be helpful to consider some of these questions when editing.
You also always have the opportunity to try 3-4 editing types and see what fits. Ultimately it’s about what type of story you are trying to tell with your photo.

